home

all posts

11/10/2024

Chicago Trip - Field Museum

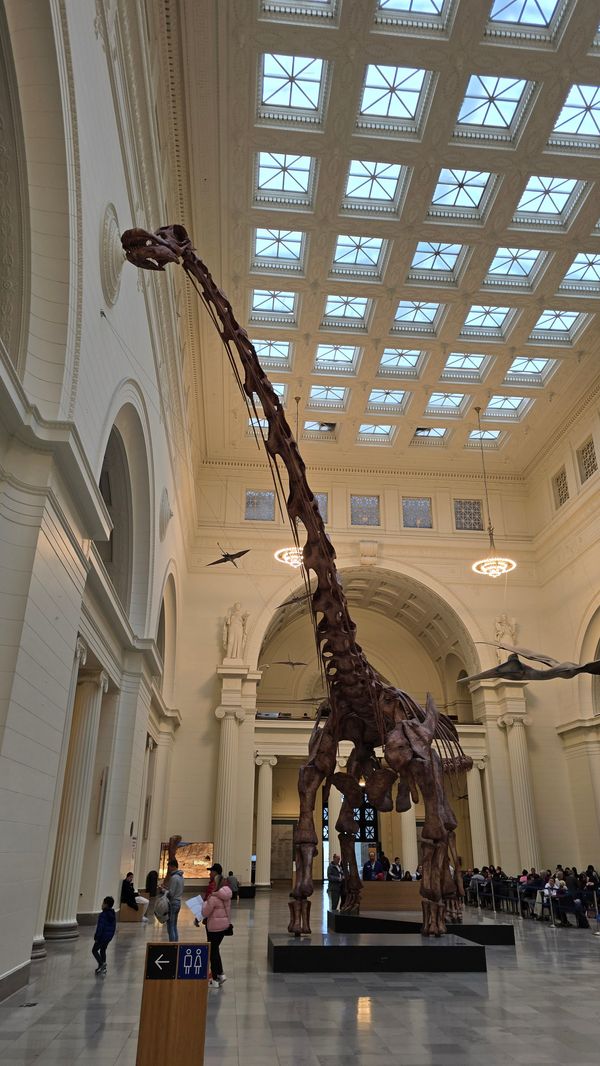
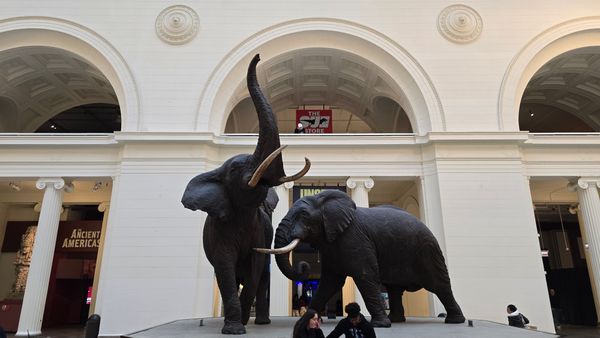
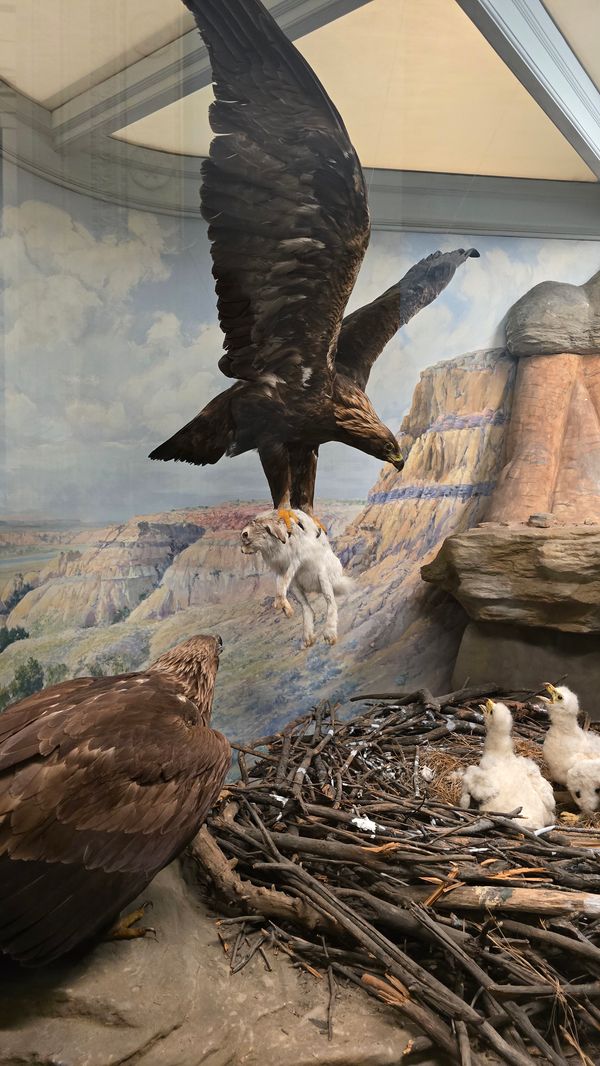
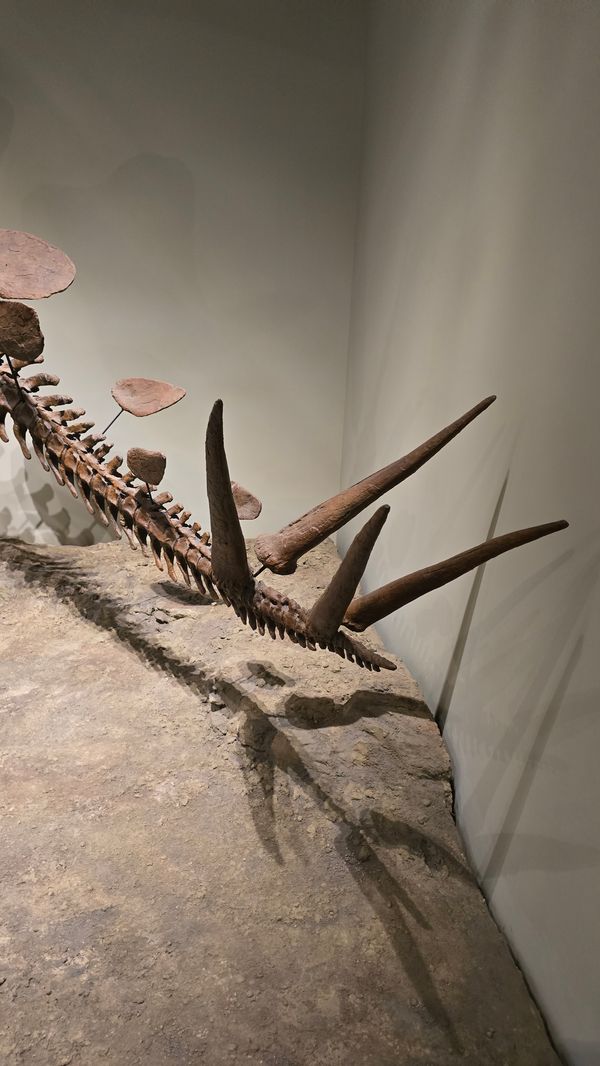
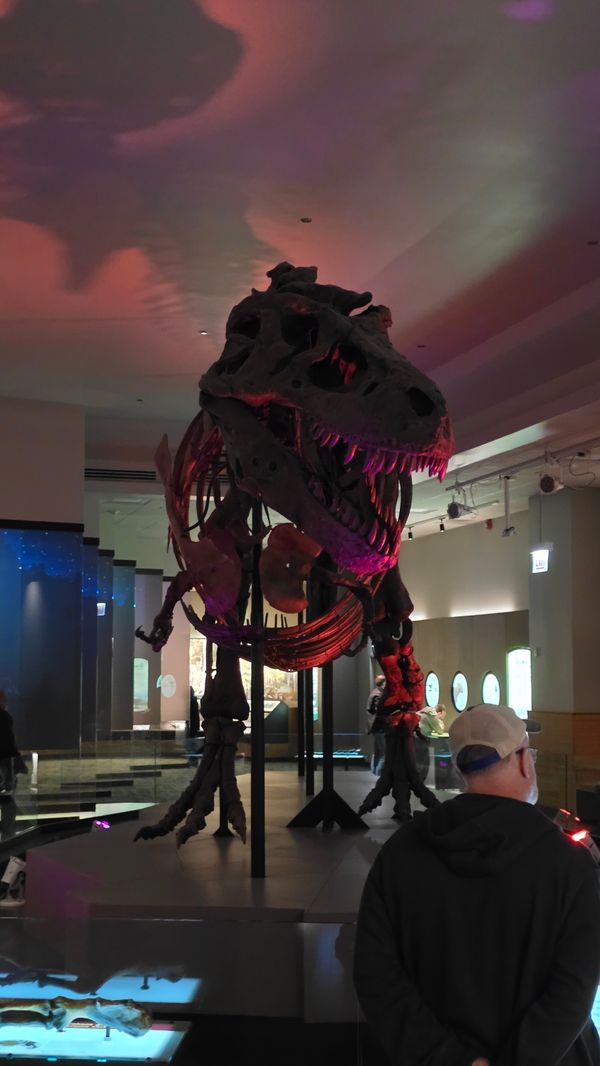
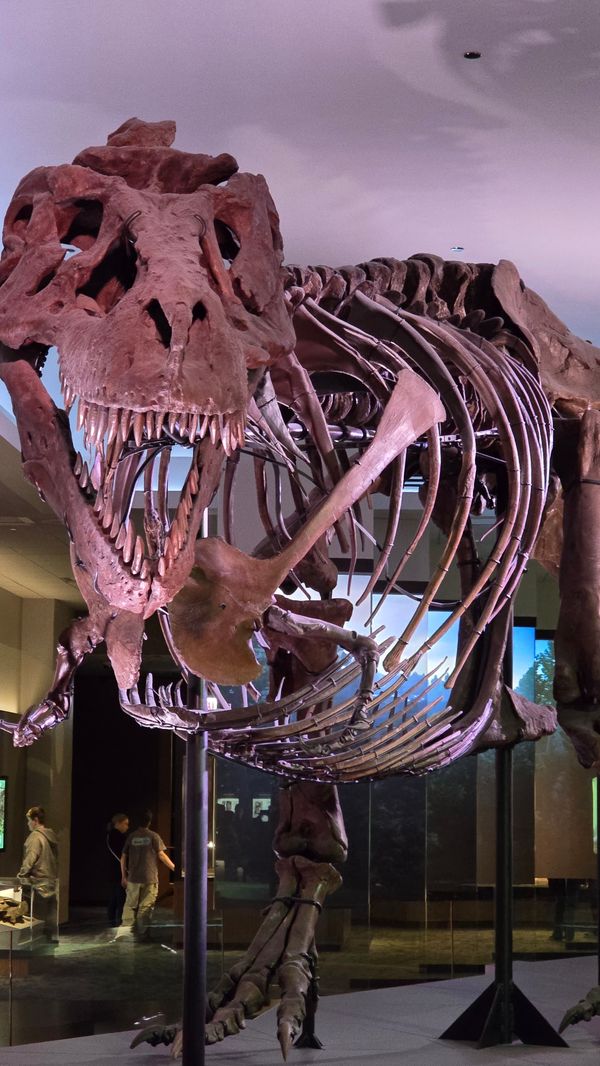
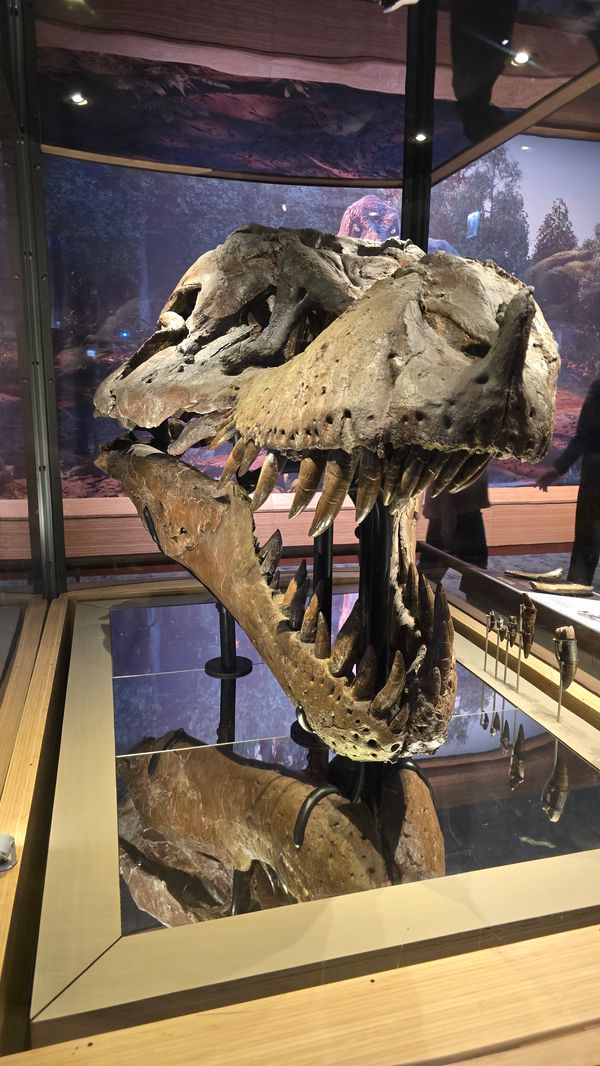
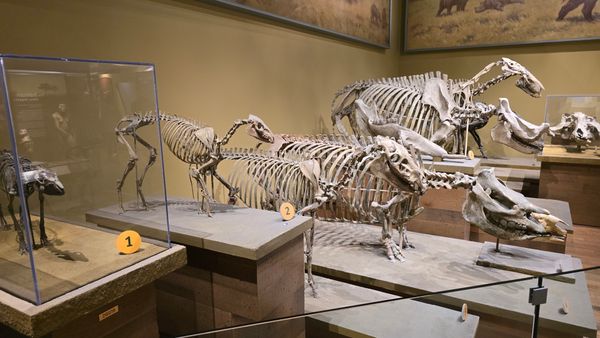
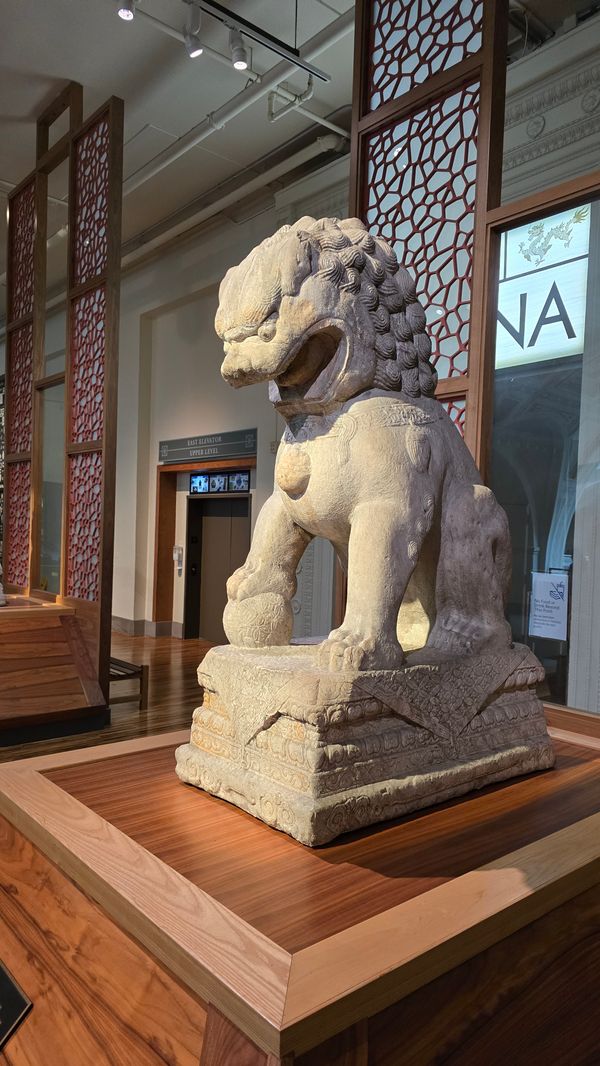
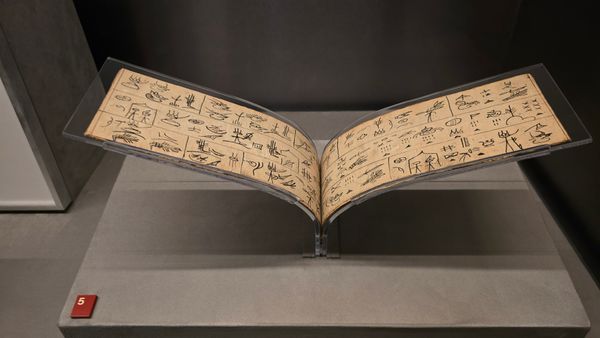
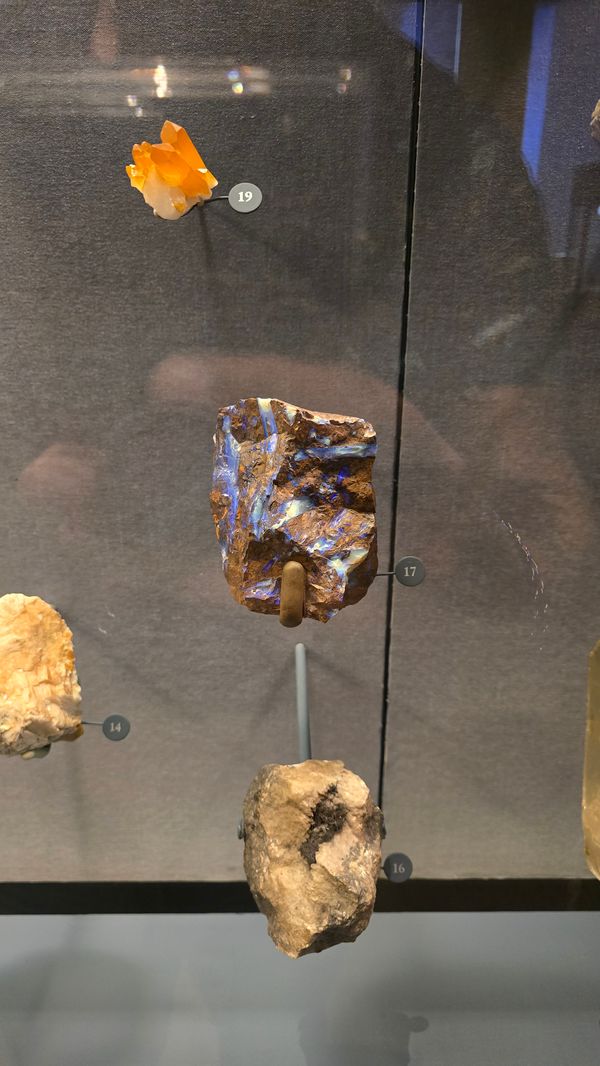
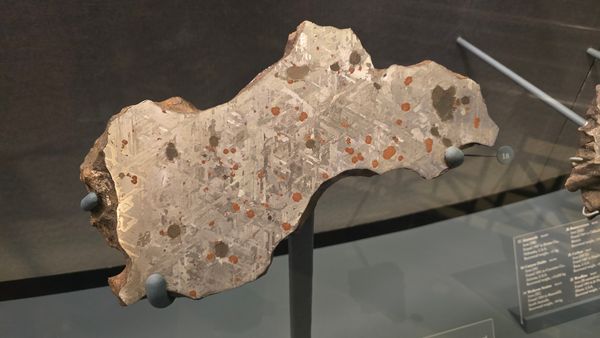
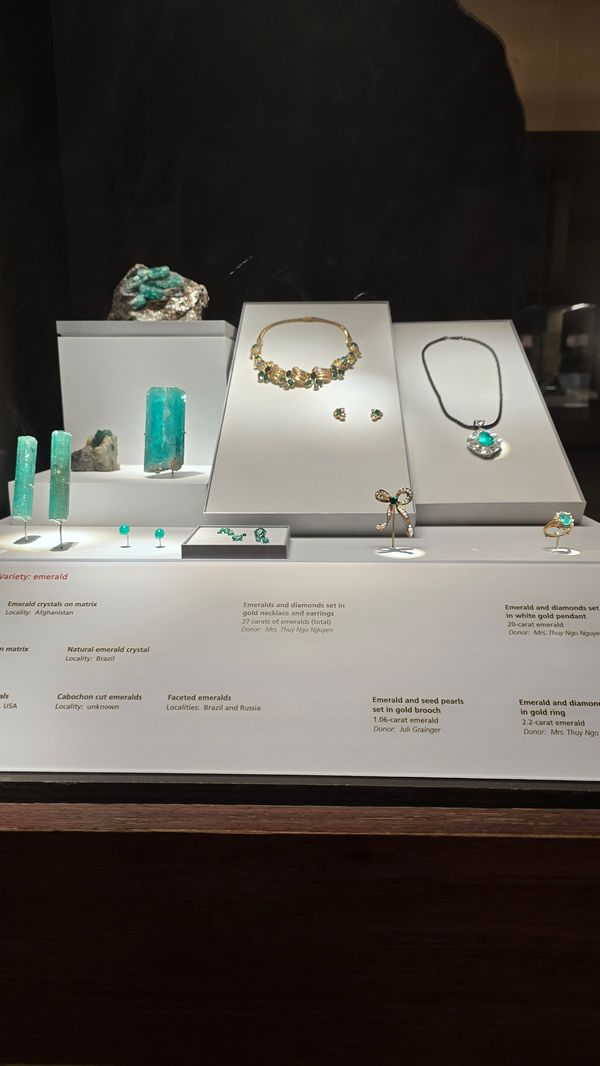
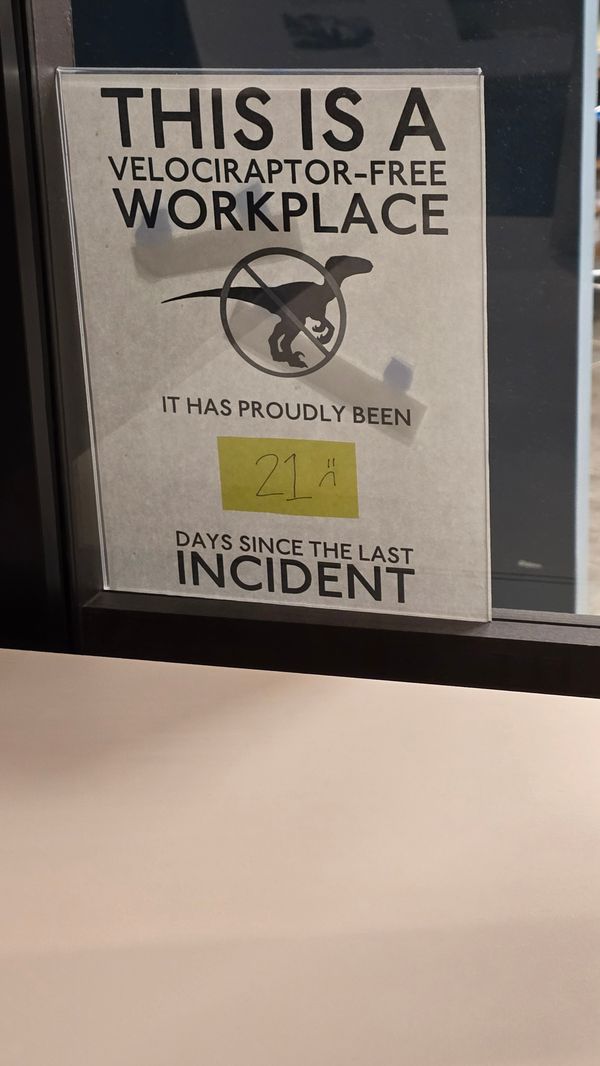
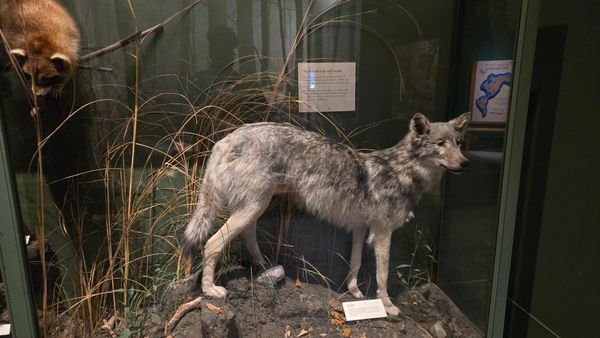
Continuing from my Chicago Trip (not that I'm posting these in chronological order), I spent the one rainy day of the trip at the Field Museum! The main highlight was getting to see SUE, the Nonbinary T-Rex, but there was plenty of other neat things (particularly the meteorites!) that I really enjoyed. I wish I could have stayed longer, but I was pretty tired after a couple hours of slow walking.

Photos

Videos

(Embed below is a playlist hosted on Youtube, via youtube-nocookie)

10/31/2024

Chicago Trip - Architecture Tour

Earlier in October I visited Chicago for a few weeks. Expect a few more posts with more pictures over the next few days/weeks.

This set is from the Chicago Architecture Tour from a boat riding along the Chicago River.

No, I don't remember every detail from the tour. Oops.

Photos

Videos

(Embed below is a playlist hosted on Youtube, via youtube-nocookie)

10/2/2024

the plan v. what happened

My plan, upon waking up this morning:

  • Get a haircut

What I actually did:

  • Get a haircut
  • Run to Best Buy to get a new screen protector for my phone, and maybe the new Zelda if they have it (they didn't)
  • Run to Home Depot cause oh yeah our blinds broke a day or so ago (had to message wife to ask her to measure the window cause I forgot to)
  • Decide to go to Gamestop a couple towns over to get the new Zelda
  • Get there a half hour before they open (they opened at noon), so decide to swing by Burger King for lunch
  • Stop in the Staples next to Burger King to look for the online only masks my wife wears, just in case. They didn't have them, but I did get some luggage tags that we need for our upcoming trip
  • Swing back to Gamestop, 5 minutes after opening. They still aren't open.
  • Wait 10 more minutes. They still aren't open, decide to go to the mall a few more towns away since they have a couple stores that might have it.
  • None of the relevant stores in the mall have Zelda either
    • But I got some lil sets from the Lego Store!
  • Drive home (in construction laden traffic)
  • Find out that Zelda was available at the Target next to the Best Buy in step 2 above
  • sigh, drink some water, and install the blinds. I'll get the game later (I mainly want it for the flight and/or down time on the trip).

So yeah I'm sweaty and pooped and by this time yesterday I was still on the computer and unshowered. Truly a kind of creature I am.

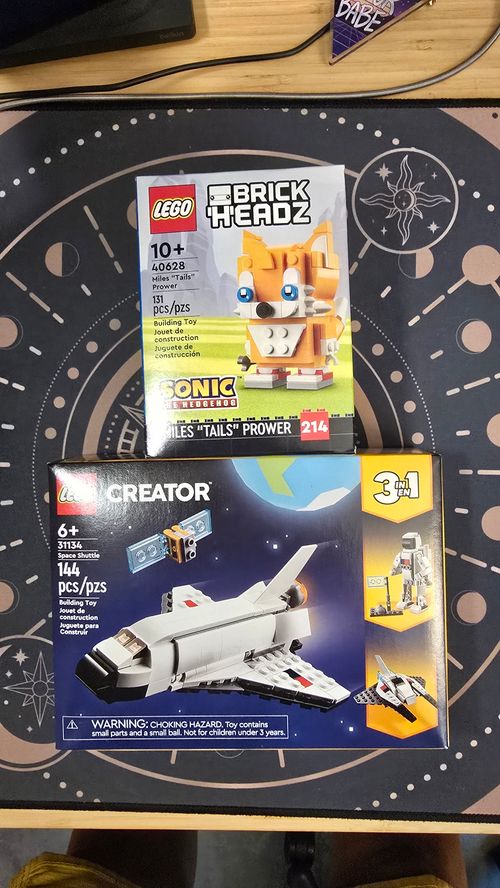
Pictured, the Lego sets I got!

A picture of two Lego Sets on a celestial mouse mat: 1 is a Lego Brick Heads model of Miles 'Tails' Prower, the other is a Lego Creator Space Shutter that can also be assembled into an astronaut and a space fighter.
9/30/2024

Site Update

  • Changed post CSS to line up more with the rest of the site's design, maybe
  • Two column home-page layout
    • 1 column on mobile. that's responsive, baby!
  • Messed with some spacing to make it make more sense
  • Changed a few colors to get at least AA WGAC compliance (and at or close to AAA in most cases)
  • (just for me) Added a post template file that has some dummy frontmatter so I can create a post without using a script or having to double check an existing post.
  • Made not every list on the site use "✨" as its bullet icon.
    • It was nice for the list of things on the homepage, but distracting everywhere else I think
9/30/2024

The Place I Posted

"cohost was a place where i posted, which is more than i can say for any other social media"

My cohost wake post yielded this line, which is something that rattled in my head all day yesterday, but it's true.

I don't remember when it happened, maybe the early 2010s, but I started hearing stories of people getting yelled at, harassed, and all sorts of bad shit on social media (not that it wasn't happening earlier, but that's when I remember being conscious of it). Still happens today (even worse, I'm sure), and my response to that was to shut up.

Essentially, every social media was in "read-only" mode already for me. If I don't interact, the harassers won't find me. I'll just look at cool posts and art and news stories and keep my ability to dive as deep into a point of discourse as I want, without feeling the need to dive deeper, since i wasn't interacting. I never actually had troubles on other social media that people have. cause I just didn't talk. Or, what little I did talk was so small as to be unnoticeable (carefully crafted tumblr tag commentary, mostly).

Having a place where I felt safe to post was new. In a way, cohost was the first social network I actually used since Facebook replaced the "wall" with the "timeline" and statuses were no longer prefaced with "I'm feeling..." (or something like that). Turns out I have thoughts! And like doing creative things! And the bits of feedback I got here helped push me in the right direction! Or at least a direction.

I'm kind of still afraid to lose that space, since nothing else quite fills that niche, mainly by virtue of places being established and existing social media culture already spreading over there. I tried to get more talkative on bluesky, but there's always the specter of saying the wrong thing to the wrong person, or the much more likely feeling of just shouting into the void. Twitter's a no-go (except for some porn), and I still haven't gotten Mastodon cause of instance decision paralysis (thanks folks that suggested stuff on my post about it though!).

I'm gonna try to remember what I learned here and get a bit more bold about putting myself out there, even if I'll have to deal with the new experience of feeling like I'm putting a target on my chest when I do. And that's one thing I liked about cohost, I didn't ever really feel like that.

Like most things that end, it happened too soon. I would have liked to get even more confident in myself. I would have liked to work on and post more of my random creative endeavors (it's much easier when you have people cheering you on). But. that's the kind of spirit I'm hoping to take forward, and keeping up some connections in various places (mostly discord right now) will help with motivation, maybe?

Things are kind of a question mark once October 1st hits. Scary. But perhaps doable.

this was originally on cohost, and hopefully the archive.org thingy works after things go offline later this year.

9/29/2024

A Cohost Wake

this was originally on cohost. It's also technically 3 posts hence the random breaks in the middle.

cohost was a place where i posted, which is more than i can say for any other social media, in any real sense. i'm going to try to keep it up. helps get my head out of me, you know?

boston cohost wake was very nice to come to. many good people on this site, glad to have found a few of them locally.

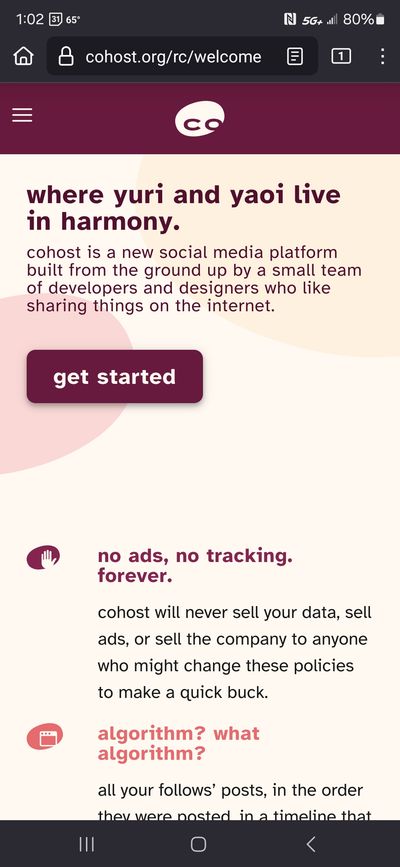
oh also, signing in on my phone today and i got this:

a screenshot of cohost.org's logged out homepage homepage, where the title says 'where yuri and yaoi live in harmony'

bonus: jaunty angels

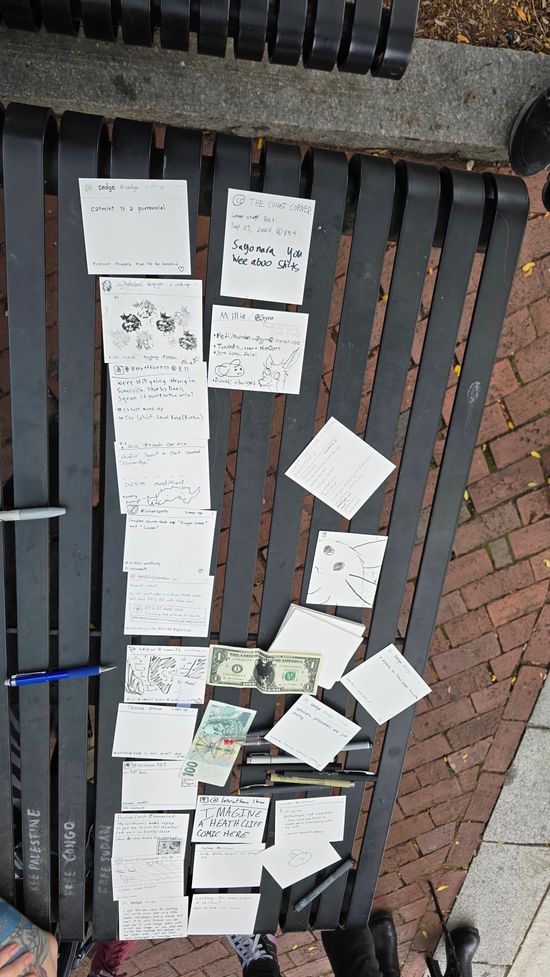
a photo of several postcards, decorated by as many people to look like handwritten cohost posts

the cohost timeline and and my addition to it

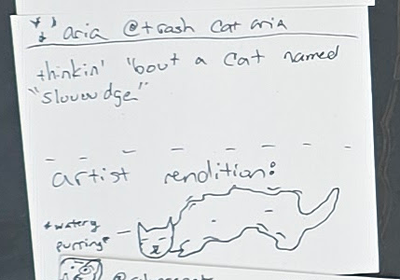
a photo of a postcard with a single handwritten post from @trashcataria: 'thinkin' 'bout a cat named 'sluuuudge', with a 'reply' that is a cat seemingly made of a puddle and letting out some '*watery purring*'
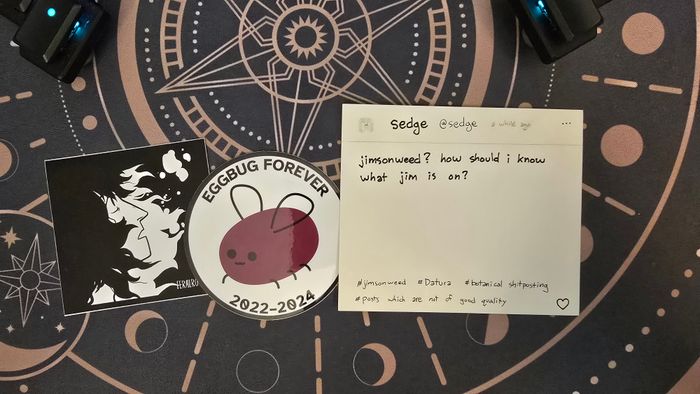
a photo of two stickers and a postcard. One sticker has a black and white picture of a long-haired person, with the text 'FERALROYAL', partially obscured. The sticker in the middle is round and has a picture of eggbug, and written around it is 'EGGBUG FOREVER' and '2022-2024', The post card is a handwritten post from @sedge: 'jimsonweed? how should i know what jim is on?' with tags: '#jimsonweed, #datura, #botanical shitposting, #posts which are not of good quality'

and a few things from @julian, @jkap, and @sedge

9/23/2024

the summoning

just summoned a bowl of tortellini and spinach. hope it isn't. like. cursed or anything.

9/23/2024

Site update!

just finished up a bunch of site updates, mainly around making a feed page that was more like something you can scroll through, and bunch of other random stuff.

9/20/2024

A Sunset & A Raccoon

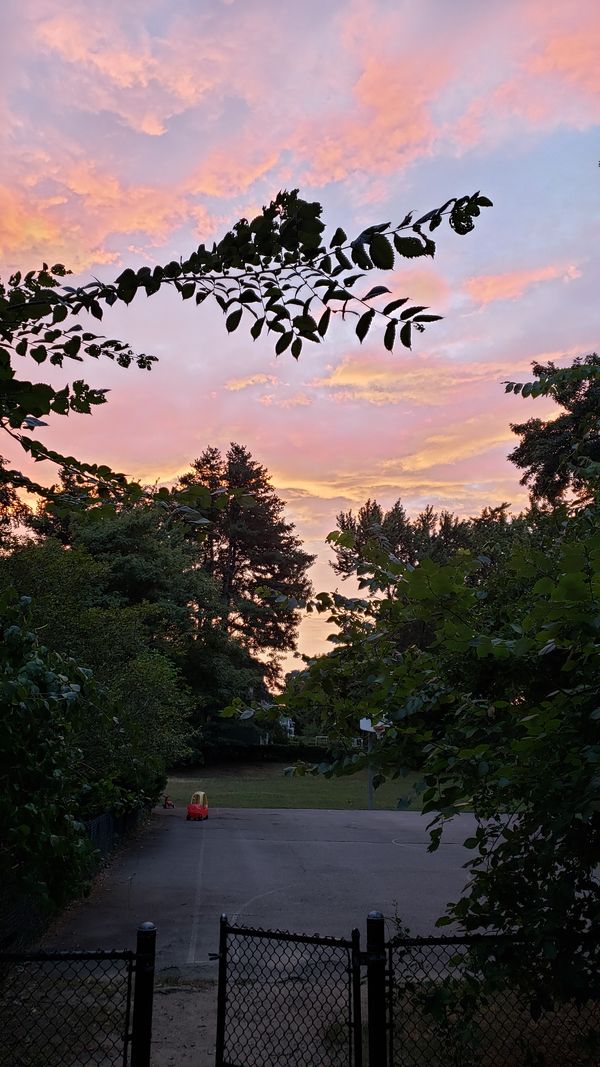
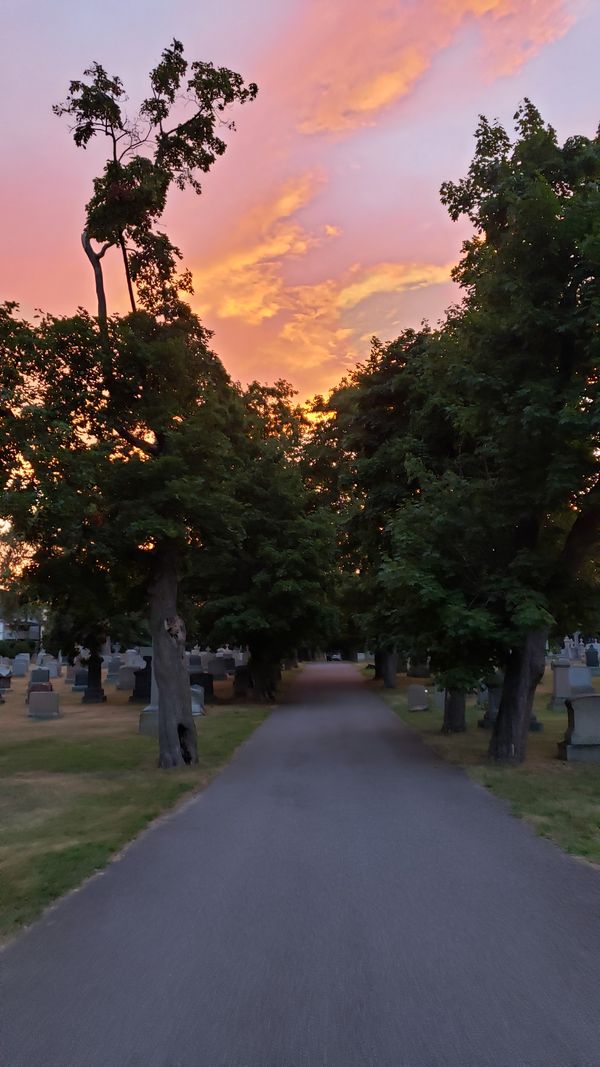
A few weeks ago, I went on a walk after work to a nearby cemetery. It was at the perfect time to catch a beautiful cotton-candy sunset.

While walking through the cemetery, I found some people chatting and staring up at a tree. That grabbed my attention and I looked as well to find a small family of raccoons hanging out in the tree! They were probably getting ready for some adventures later that night.

The very top of the tree had a cluster of small raccoons, while closer to the bottom was what I assume was one of their parents, scurrying around various branches. I didn't get super close, but I tried to take a video of what I could!

I'm also using this as a test of the gallery functionality I added to the site. I should write up a post about that, cause it took a good bit to figure out!

9/11/2024

i'm sad about cohost


it was nice while it lasted

took a nights sleep for it to hit, but.

I'm really sad to lose this place, scared of backsliding into old antisocial habits, and not looking forward to losing a place of rest.

like. because of this site and the people on here, I've grown and changed and laughed and loved in ways that I never would have conceived before. I like myself, not just tolerate. I've found people I actively enjoy, rather than people im just nearby. losing our hangout spot has the uncertainty that I'd ever find it again.

I know that its the people, not the venue, but its that much harder where the venue where everyone was shuts down.

when everyone is scattered into crowds full of others and its hard to discern who can be on your side. other places where its easier to hide against the wall rather than jump into a bladed mosh pit.

I want to try to do my best to deliberately stay in touch, but I'm scared ill get worse again and lose it all.

thanks cohost for a wonderful couple years. I'll hold on to that forever, and really really want to try to keep the party going.

this was originally on cohost, but not for much longer, it seems

4/28/2023

bending firefox to my will


for when you want to shake things up

so i've been using the newfangled Arc Browser on my work laptop and been enjoying it, but since my personal computer is windows, i can't use it everywhere (they're expecting a windows port in Nov or so, which to me means "2024" at least).

ever since, i've been trying to distill the things i like about Arc (which isn't everything), and see if i can replicate things somewhat in Firefox.

turns out, my main things are a) sidebar tabs and b) bookmarks as tabs (i.e. a bookmark looks like a tab, mostly so i don't keep opening the same site in multiple tabs)

Firefox ended up being much more extensible than i thought! there are definitely extensions that add tabs to the side, using the built-in sidebar (i'm using Tab Center Reborn). but then i found out about userChrome.css

with userChrome.css, i can style the browser like its a webpage. there's even a set of tools like the Inspector that let me live-edit the goddamn browser. this feels like power i should not have and will not be responsible with. (instructions on how to do that)

anyways, i stole a setup from reddit and have collapsing side tabs now, with no tabs on top of the window.

i still need to figure out how i can do "bookmarks-as-tabs," which isn't even something i think i'm explaining right, never mind know how to find without a standard name for it.


edit: lmao turns out there's a limit to how much data an extension can store (particularly data that can be sync'd between computers) and i have too much css for it to save.

i really don't want to have to minify the css but i may have to.

this was originally on cohost

10/30/2022

making maps with just ascii


something i thought too much about maybe

what's a map?

In creating the explorer format, I wanted to have easy support for doing 2D, Super Metroid-style maps. In essence this is a grid, which each block on the grid showing a specific style of square or rectangle, correlating with the area the player is in.

Super Metroid Map of Brinstar

Super Metroid Map of Brinstar (via retropixel.net)

Ignoring the text labels (and elevator shafts), essentially this map shows two things:

  1. Whether a grid on the map is part of the map (pink) or not (black).
  2. How each grid block connects (or doesn't connect) to adjacent blocks, visualized by "walls."

use in twine

Twine (or Twee, in this case), is basically a fancy way of reading a text file (much like how this page is a fancy way of reading a Markdown file). It would be great to have the map data in that text file as well, and in a fairly easy to read and write format.

That last requirement basically rules out XML (cause it isn't 2009 anymore) and JSON (I love you JSON, but visualizing a map from JSON is a nightmare).

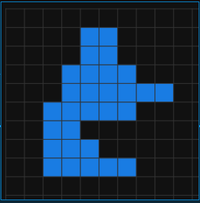
A simple map could be done using just ASCII characters, especially if you author it in a monospace font. Here's a simple 10x10 map:

xxxxxxxxxx
xxxx00xxxx
xxxx00xxxx
xxx0000xxx
xxx000000x
xx00000xxx
xx00xxxxxx
xx000xxxxx
xx00000xxx
xxxxxxxxxx

Here x means "The player can't go here" and 0 means "the player can be here"

And here's how it would appear:

Screenshot of the above map on a grid

Screenshot of the above map on a grid

Easy! Time to wipe our hands and call it a day, except...

walls

So we've achieved goal #1, show where the player can be. But what about goal #2, show the connections between rooms?

Surely we'll need more than x and 0 to denote whether a block has walls. But how? We could use a separate piece of data to say something like "coordinate (1,0) has walls on the top and right, but not bottom and left," but that starts getting real clunky again. Is there a way we can encode that information into a single character?

wall states

So, if we look at a single block, we can have a wall on top, right, bottom, and left, and any combination of those, which is 16 combinations:

  1. no walls
  2. top only
  3. left only
  4. bottom only
  5. right only
  6. top and left
  7. top and bottom
  8. top and right
  9. left and bottom
  10. left and right
  11. bottom and right
  12. top, left, and bottom
  13. top, left, and right
  14. left, bottom, and right
  15. bottom, right, top
  16. top, left, bottom, right (all of the walls!)

Now, this would work with any system, but 16 is a number system we see a lot, especially in web development: hexadecimal! We can attribute a character 0-9 and a-f to represent each of the 16 states above

sorta random choice

We can pick an arbitrary mapping of hex char to wall configuration, and that'll work fine as long as it's clear in our code (i.e. a const somewhere). But we can do one better (or worse, depending on how much you understand of binary).

Since we have 4 walls per block, and the max number of bits a hex char would need is 4, we can do a kinda sorta bitmask to map a hex character to a wall state.

First, we do have to (arbitrarily) assign a bit to a wall. I chose to go from most significant bit to least, following the same order that things like margin and border follow in CSS: top, right, bottom, left:

top right bottom left binary decimal hex
no walls 0 0 0 0 0000 0 0
top and bottom 1 0 1 0 1010 10 a
all walls 1 1 1 1 1111 15 f
etc...

So now we can use a single character to determine how many walls need to be on each part of the map. Using this we can create single rooms, hallways, and corners fairly easily!

final result

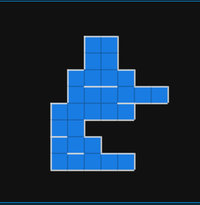
So now we can take our map from earlier, and turn each grid into a hex char that represents the walls around it:

xxxxxxxxxx
xxxx9cxxxx
xxxx14xxxx
xxx922cxxx
xxx1882aex
xx9022exxx
xx34xxxxxx
xx92cxxxxx
xx3a2aexxx
xxxxxxxxxx

(note: I did set up some of the interior walls to "double up" and show on both adjacent blocks in order to be more prominent, but how that is displayed can be up to you!)

(double note: looking back, using x to denote a non-space is still a little rough to read here. However, since the only valid values for a space is [0-9a-f], you can use whatever other character to denote a non-space, like -, _ or even   (space)!)

And that comes out looking something like this:

The same Map screnshots from earlier, but with borders highlights in white

The same Map screnshots from earlier, but with borders highlights in white

We now have our small use case fulfilling the above criteria:

  1. We know where the player can and can't be
  2. We know how each block connects to the others (in this case, this is one large room with some walls the player has to go around)

conclusion

This was my first time working directly with bit maps and bit masking. You can see the code that taskes the ascii char and converts it to drawing a border in the explorer format source. Could I have made that code nicer? Probably. There's maybe some bitshifting that can happen to make this a bit smoother, but that's for another time, I guess!

9/12/2022

creating a twine story format


you probably don't need to do this

what?

First. Twine. Twine is a piece of software that let's you write nonlinear stories. It keeps track of chunks of story (so-called "passages") and the links between them (well, not really, but we'll get there maybe). Basically it keeps track of a graph of nodes.

Second. Story Formats. Story Formats are blobs of javascript that take the graph data that Twine has and displays it on a web page.

A Twine Story Format mainly provides three things

  1. The HTML markup for the page
  2. Where Twine (or tweego or whatever compiler you are using) should dump the story data
  3. Actually there isn't a third thing, gotcha.*

* Actually the third thing is metadata** about the story format itself but that's not terribly exciting

** I never meta data i didn't like

There are several popular ones out there: Harlowe is the default for the Twine application, Sugarcube and Chapbook provide alternate UI experiences, and there's Snowman. Snowman is a bare-bones kind of story format where you have to implement a lot of the features (like macros, styling, etc) yourself. In retrospect, it's open enough that you probably don't need to write a story format of your own if you are planning on publishing your story to the web*. But then you don't learn the joys of making a story format! Anyway.

* You can use the Twine story data pretty much anywhere you can process XML.

why?

Three reasons:

  1. Cause I thought it'd be fun.
  2. I wanted some first-class features in the format (like using a <canvas> element to draw a map for the game)
  3. I really didn't want to use jQuery, and a lot (maybe all? Need to check) of the existing formats rely on jQuery. Or at the very least they load it for writers to use. Which is fine! I'd just rather leave it behind. Let the past die. Kill it if you have to.

Reason #2 is why I called the format "Explorer." Kind of giving a sense that you can write a "dungeon" that you can explore. Or crawl through. Maybe I should call it "Crawler." It's not too late.

how?

Check out my commits if you just want to go through that way

The ultimate goal is to create a file (format.js) that looks something like:

window.storyFormat({
	name: "Story Format Name",
	version: "1.0.0",
	author: "Author McAuthorson",
	image: "loss.jpg",
	url: "https://hell.site",
	license: "MIT",
	proofing: false,
	source: ""
})

This file is a thing called JSONP, which is a way to provide data via a JS (i.e. you can load it in a <script> tag). In this case, Twine has a window.storyFormat function that I just fed my format data into.

Most of those fields are fairly boilerplate, except for source (and proofing which we won't talk about right now). source is where we will dump our HTML.

In fact, a very simple story format, that does absolutely nothing would look like this:

window.storyFormat({
	name: "Story Format Name",
	version: "1.0.0",
	author: "Author McAuthorson",
	image: "loss.jpg",
	url: "https://hell.site",
	license: "MIT",
	proofing: false,
	source: "<html><head><title>{{STORY_NAME}}</title></head>"+
	        "<body>{{STORY_DATA}}</body></html>"
})

Publish a story with this format and you'll see...nothing. Unless you look at the source for your page. Twine replaced {{STORY_NAME}} with the name of your story, and {{STORY_DATA}} with what is basically an XML representation of your story.

inserting your javascript

Now that you have HTML and STORY_DATA, your story format will need some JS to convert that STORY_DATA to something the user can see. That JS can get included directly in the source property:

window.storyFormat({
	name: "Story Format Name",
	version: "1.0.0",
	author: "Author McAuthorson",
	image: "loss.jpg",
	url: "https://hell.site",
	license: "MIT",
	proofing: false,
	source: "<html><head><title>{{STORY_NAME}}</title></head>"+
	        "<body>{{STORY_DATA}}"+
	        "<script type=\"text/javascript\">"+
	        "//STORY FORMAT JAVASCRIPT HERE"+
	        "</script>"+
	        "</body></html>"
})

You may be starting to see a problem, writing HTML and Javascript within a string is a pain. So we turn to builds scripts to put it all together for us.

building the format json

I ended up writing a script that takes the story format javascript I wrote (in index.js), a handlebars template for the page body, and mashes them together to make the format you see above:

index.hbs

<html>
	<head>
		<title>\{{STORY_NAME}}</title>
	</head>
	<body>
		\{{STORY_DATA}}
		<script type="text/javascript">
			{{{ format_js }}}
		</script>
	</body>
</html>

Note the \ before STORY_NAME and STORY_DATA, this is to prevent handlebars from trying to interpolate values for them, that's Twine's job! You can use a different template system (or a different delimiter in handlebars) to avoid this, if you like.

Oh also, format_js has triple braces so Handlebars won't try to safe-escape any of the text inside (i.e. turning & into &amp;, etc.).

build-format.js

#!/usr/bin/env node
const Handlebars = require("handlebars");

const storyJSON = {
	name: "Story Format Name",
	version: "1.0.0",
	author: "Author McAuthorson",
	// ...etc.
}

const format_js = fs.readFileSync("index.js");
const html_template = fs.readFileSync("index.hbs");
storyJSON.source = Handlebars.compile(html_template)({
	format_js
});

fs.writeFileSync(
	"format.js", 
	`window.storyFormat(${JSON.stringify(storyJSON)})`
);

Boom! We have a gnarly looking format.js, but we are no longer directly editing that file, so that's fine!

side note: building js

In reality, I'm also not directly editing index.js to add my Story Format javascript. Instead I'm using Parcel to build index.ts (whoo Typescript!) and minify it to index.js, which then follows the process above. This is really nice for working with TS and ES6 modules, though using sourcemaps is wonky (since the JS is added to the page via the source string rather than directly). You can use any build system you want here (or none!).

getting your story data: tw-storydata

The <tw-storydata> node has all the information you need to load the data about your story:

<tw-storydata
	name="Story Name"
	startnode="1"
	format="Story Format Name"
	format-version="1.0.0"
>
<!-- passage data here, we'll get there -->
</tw-storydata>

You can get this information with a simple:

const storydataNode = document.querySelector("tw-storydata");

(placed in your index.js file that we added to the format above), and then get the global story data with something like:

storydataNode.getAttribute("name"); //returns "Story Name"`. 

Rinse and repeat to get all of the data about the story

getting your passage data: tw-passagedata

All of your passages will show up as individual <tw-passagedata> nodes, which you can get with:

document.querySelectorAll("tw-passagedata")

And here's what the passage node looks like:

<tw-passagedata
	pid="1"
	name="Passage Name"
	tags="",
	size="100,100",
	position="0,0"
>
This is the Passage Content!
[[Another Passage Name]]
</tw-passagedata>

Note: size and position are attributes that represent where the passage lies on the canvas within the Twine program. This isn't as important for standard stories, but working that information into a non-linear narrative would be cool! Near as I can tell, the main use of this is to decompile an HTML file with this story data into Twine to edit, and preserve the passage size/location in Twine so they aren't all bunched up in the top left.

Similarly to the story data, you can get the attributes with passageNode.getAttribute("pid"). And you'll get the passage content with passageNode.innerHTML

You'll probably save this data in an array to access later. In my case it looks something like this:

const passages = [
	{
		pid: "1",
		name: "Passage Name",
		// Other attributes here, like tags, size, and position
		content: "This is the Passage Content!\n[[Another Passage Name]]"
	},
	{
		pid: "2",
		name: "Another Passage Name",
		//more attributes
		content: "This is the Second Passage!"
	},
	// ...etc.
]

side note: what about links?

Remember when I said Twine only *sorta* keeps track of links between passages? If you look at the data that's output, there is no information on links between passages! While Twine understands wiki-style links in the program itself, it's up to you, dear story format developer, to create those links yourself.

The main way to do this is to search through your content for something that looks like a [[link]], and parse that, usually with regular expressions (I'm so, so sorry).

You can see how I did it here.

For the above passages, this will convert that first passage into something like:

{
	pid: "1",
	name: "Passage Name",
	// Other attributes here, like tags, size, and position
	content: "This is the Passage Content!\n<a data-passage-name=\"Another Passage Name\">Another Passage Name</a>"
},

side note: user scripts and user styles

Within tw-storydata and along side your tw-passagedata nodes, there will be a script and a style node. These will contain the story author's JS and CSS that they added via Twine (or in a specially tagged passage, depending on your compiler). You can take the contents of these nodes, and place them in the page in new <style> and <script> tags.

Here's an example with a user script:

const scriptElem = document.createElement("script");
scriptElem.setAttribute("type", "text/javascript");
scriptElem.innerHTML = storyDataNode.querySelector("script#twine-user-script").innerHTML;
document.body.appendChild(scriptElem);

showing the first passage

This is fairly easy. But first we'll have to add a place to put the passage content in our HTML template:

<html>
	<head>
		<title>\{{STORY_NAME}}</title>
	</head>
	<body>
		\{{STORY_DATA}}
		 <!-- Right here! ↓ -->
		<div id="passage-container"></div>
		<script type="text/javascript">
			{{{format_js}}}
		</script>
	</body>
</html>

We can now take a passage (any passage), and put its content into #passage-container.

const passageContainer = document.querySelector("#passage-container");

For starters, let's get the first passage. We'll be looking at startnode in the story data to find which passage is first. startnode has the pid of the passage we want. Now we can look through our array of passages to get the one we want:

/** 
 * See the above section on tw-passagedata 
 * to see how `passages` is setup
 */

const startnode = storydataNode.getAttribute("startnode");
const firstPassage = passages.find((passage) => {
	return passage.pid === startnode;
})

Then we put the content in the passage container

passageContainer.innerHTML = firstPassage.content;

Now you should be seeing your first passage!

Now that we have a passage on the screen, the user can click a link to go to the next one. But clicking the link doesn't do anything.

What will have to happen is that when a link is clicked, we listen for that click event, find out what link was clicked (by looking at data-passage-name) and find that passage. Once we have the passage, we display it just like before.

One thing that makes this easier is event bubbling. We can listen for a click on the passageContainer, check that we clicked a link, and go from there. No need to add and remove click listeners every time the passage changes.

passageContainer.addEventListener("click", (e) => {
	// check to make sure we clicked on:
	// 1. an <a> tag with 
	// 2. "data-passage-name" set to something
	if (
		event.target.tagName.toLowerCase() === "a" && 
		event.target.dataset.passageName
	) {
		const passagename = event.target.dataset.passageName;
		const passage = passages.find((passage) => {
			return passage.name === passagename;
		});
		if (passage) {
			passageContainer.innerHTML = passage.content;
		}
	}
})

That's pretty much it. Every time you click an <a data-passage-name="something"> tag, it should replace the passageContainer with the content of the new passage!

done!

At this point we have a pretty workable story format (I think, I wrote this whole thing as a sort of fever dream). It looks ugly now, but we can make it better with:

  1. Adding some CSS to the handlebars template
    1. You can inline it in a similar way we inlined the javascript in our build script)
  2. Adding more interactivity with JS
    1. For example, adding macros to simulate typing, extracting links to display in a separate panel, playing audio or a video, pretty much anything your little JS heart desires!

Maybe I'll write about those later. But for now, do what you will with this information.


home